Veterinary Specialist Articles
Troubleshooting the Anesthesia Machine During a Procedure
Troubleshooting anesthesia machine issues during procedures - identify leaks, circuit problems & faults fast to…


In this guide, you will learn how to install, fill, drain, and remove a vaporizer from an anesthesia machine. Follow these steps to effectively manage the vaporizer throughout its use.
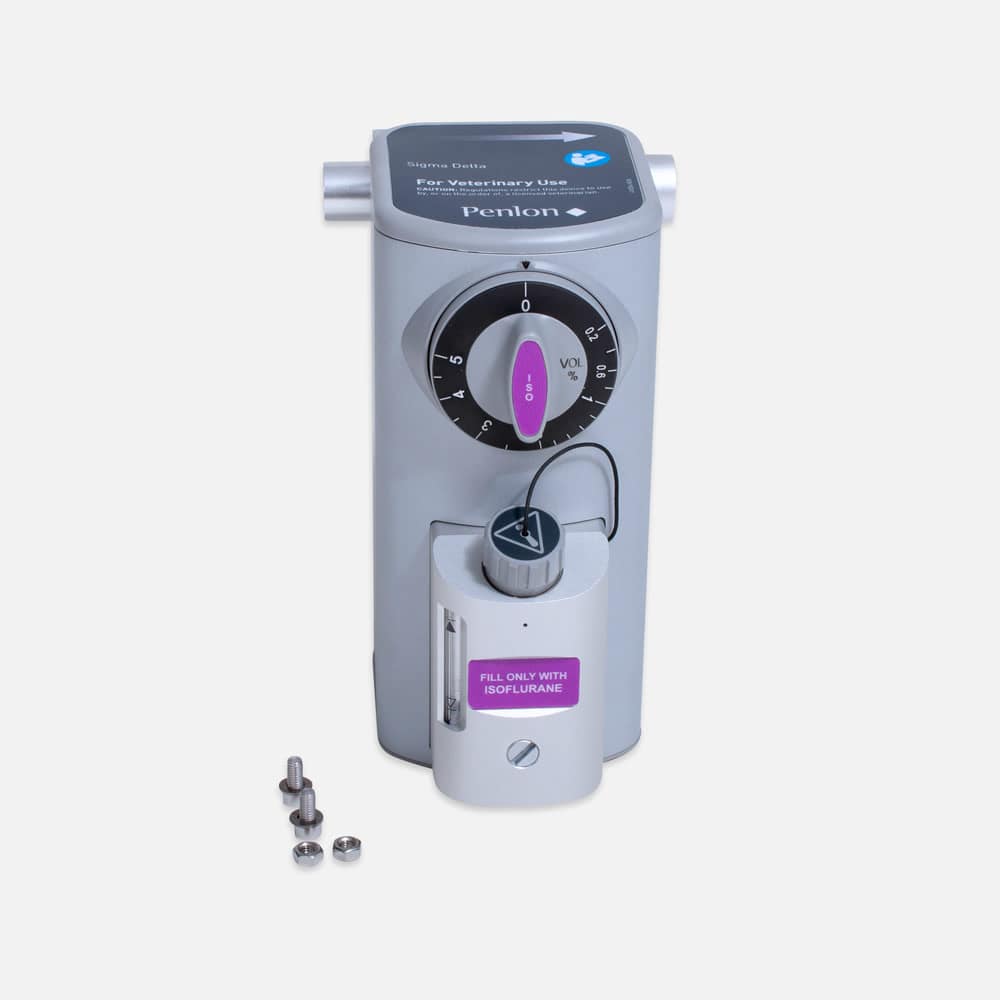
Gather the vaporizer, bolts, washers, and a 5 mm Allen wrench.
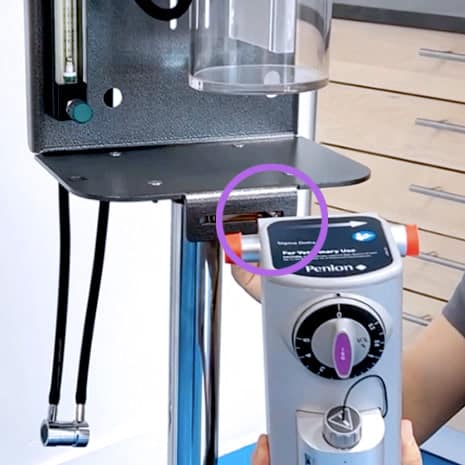
Securely attach it to the front of the chassis using the provided bolts and washers.
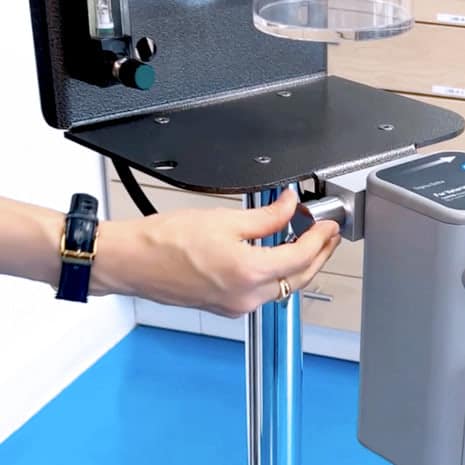
Attach the inlet and outlet adapters to ensure proper airflow.
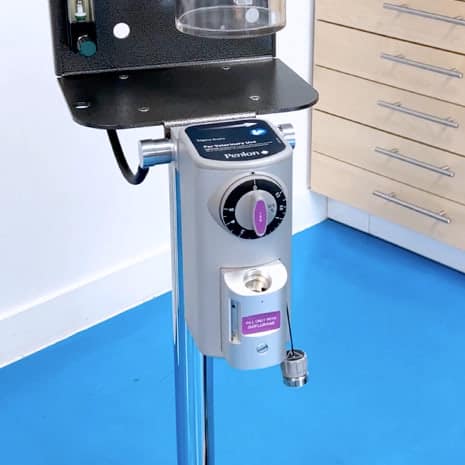
Carefully remove the vaporizer cap. Make sure the drain pin is tight before filling.
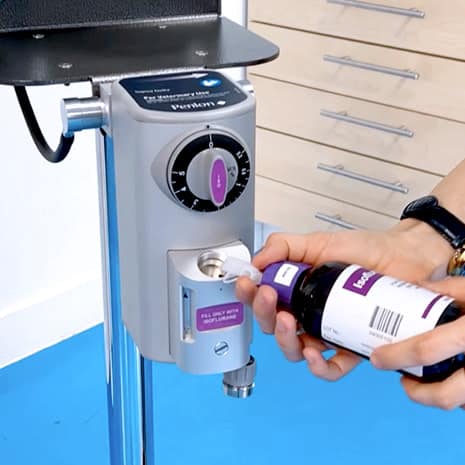
Pour isoflurane into the vaporizer while monitoring the gauge to avoid overfilling. Wait 15 minutes after the initial fill to come back and fill to the fill line.
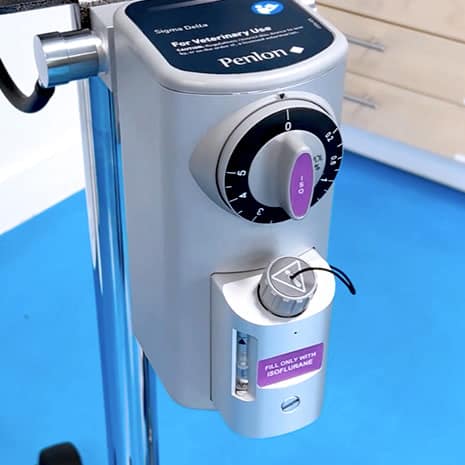
Close the cap tightly to prevent leaks.
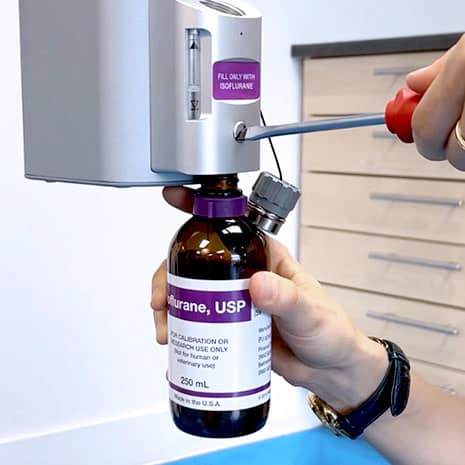
Open the cap and loosen the screw to allow isoflurane to drain into a container.
Ensure all liquid is drained, then tighten the screw and close the cap.
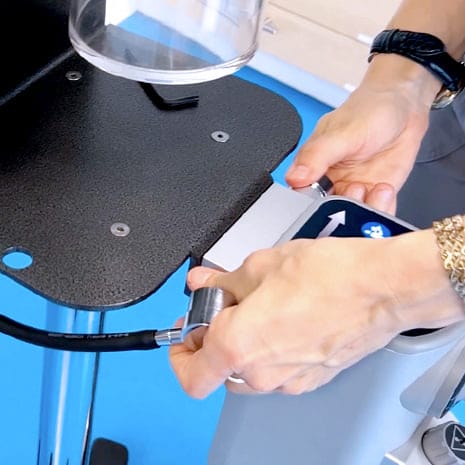
Remove the inlet and outlet adapters.
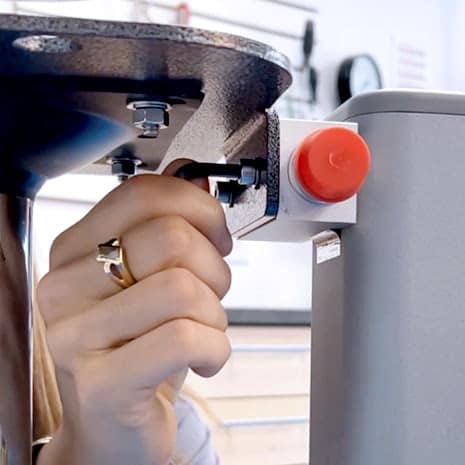
Use the 5 mm Allen wrench to unscrew and remove the vaporizer bolts.
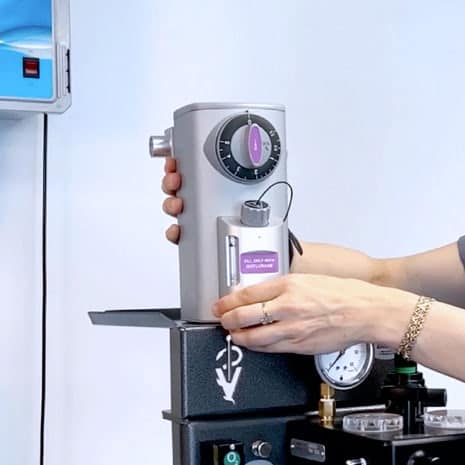
Carefully lift the vaporizer from the chassis. Don’t forget to often clean the vaporizer well using a fresh gauze pad and ensure the cap O-ring is thoroughly cleaned.
As a certified Penlon distributor, Vetamac recommends:
Proper Storage
Store isoflurane in a cool, dry place, away from direct sunlight and ignition sources.
Safe Disposal
Follow local regulations for the disposal of unused anesthetic agents.
Regular Maintenance
Regularly check for leaks and wear; ensure the vaporizer is tested annually.
Veterinary Specialist Articles